
Cleaning and dressing a pilonidal sinus wound correctly is imperative to a successful recovery journey.
I went through an 18-month battle and experimented with a variety of methods due to the lack of information provided during the aftercare process.
However, it does mean I have valuable experience with pilonidal sinus wounds and the best method for cleaning the wound during recovery.
The following guide highlights the method I used to see the best results for keeping the wound clean and limiting the risk of infections/complications.
Step 1 – Shower And Digitation
I have a detailed, step-by-step process for showering with a pilonidal sinus wound, which you should read before you continue with the next steps.
There is another important concept – wound digitation – that you should also complete before reaching this stage.
Showering and digitation work in tandem, so once that step has been completed, you are ready to move to the next phase of wound cleaning.
Step 2 – Preparing the Wound Area
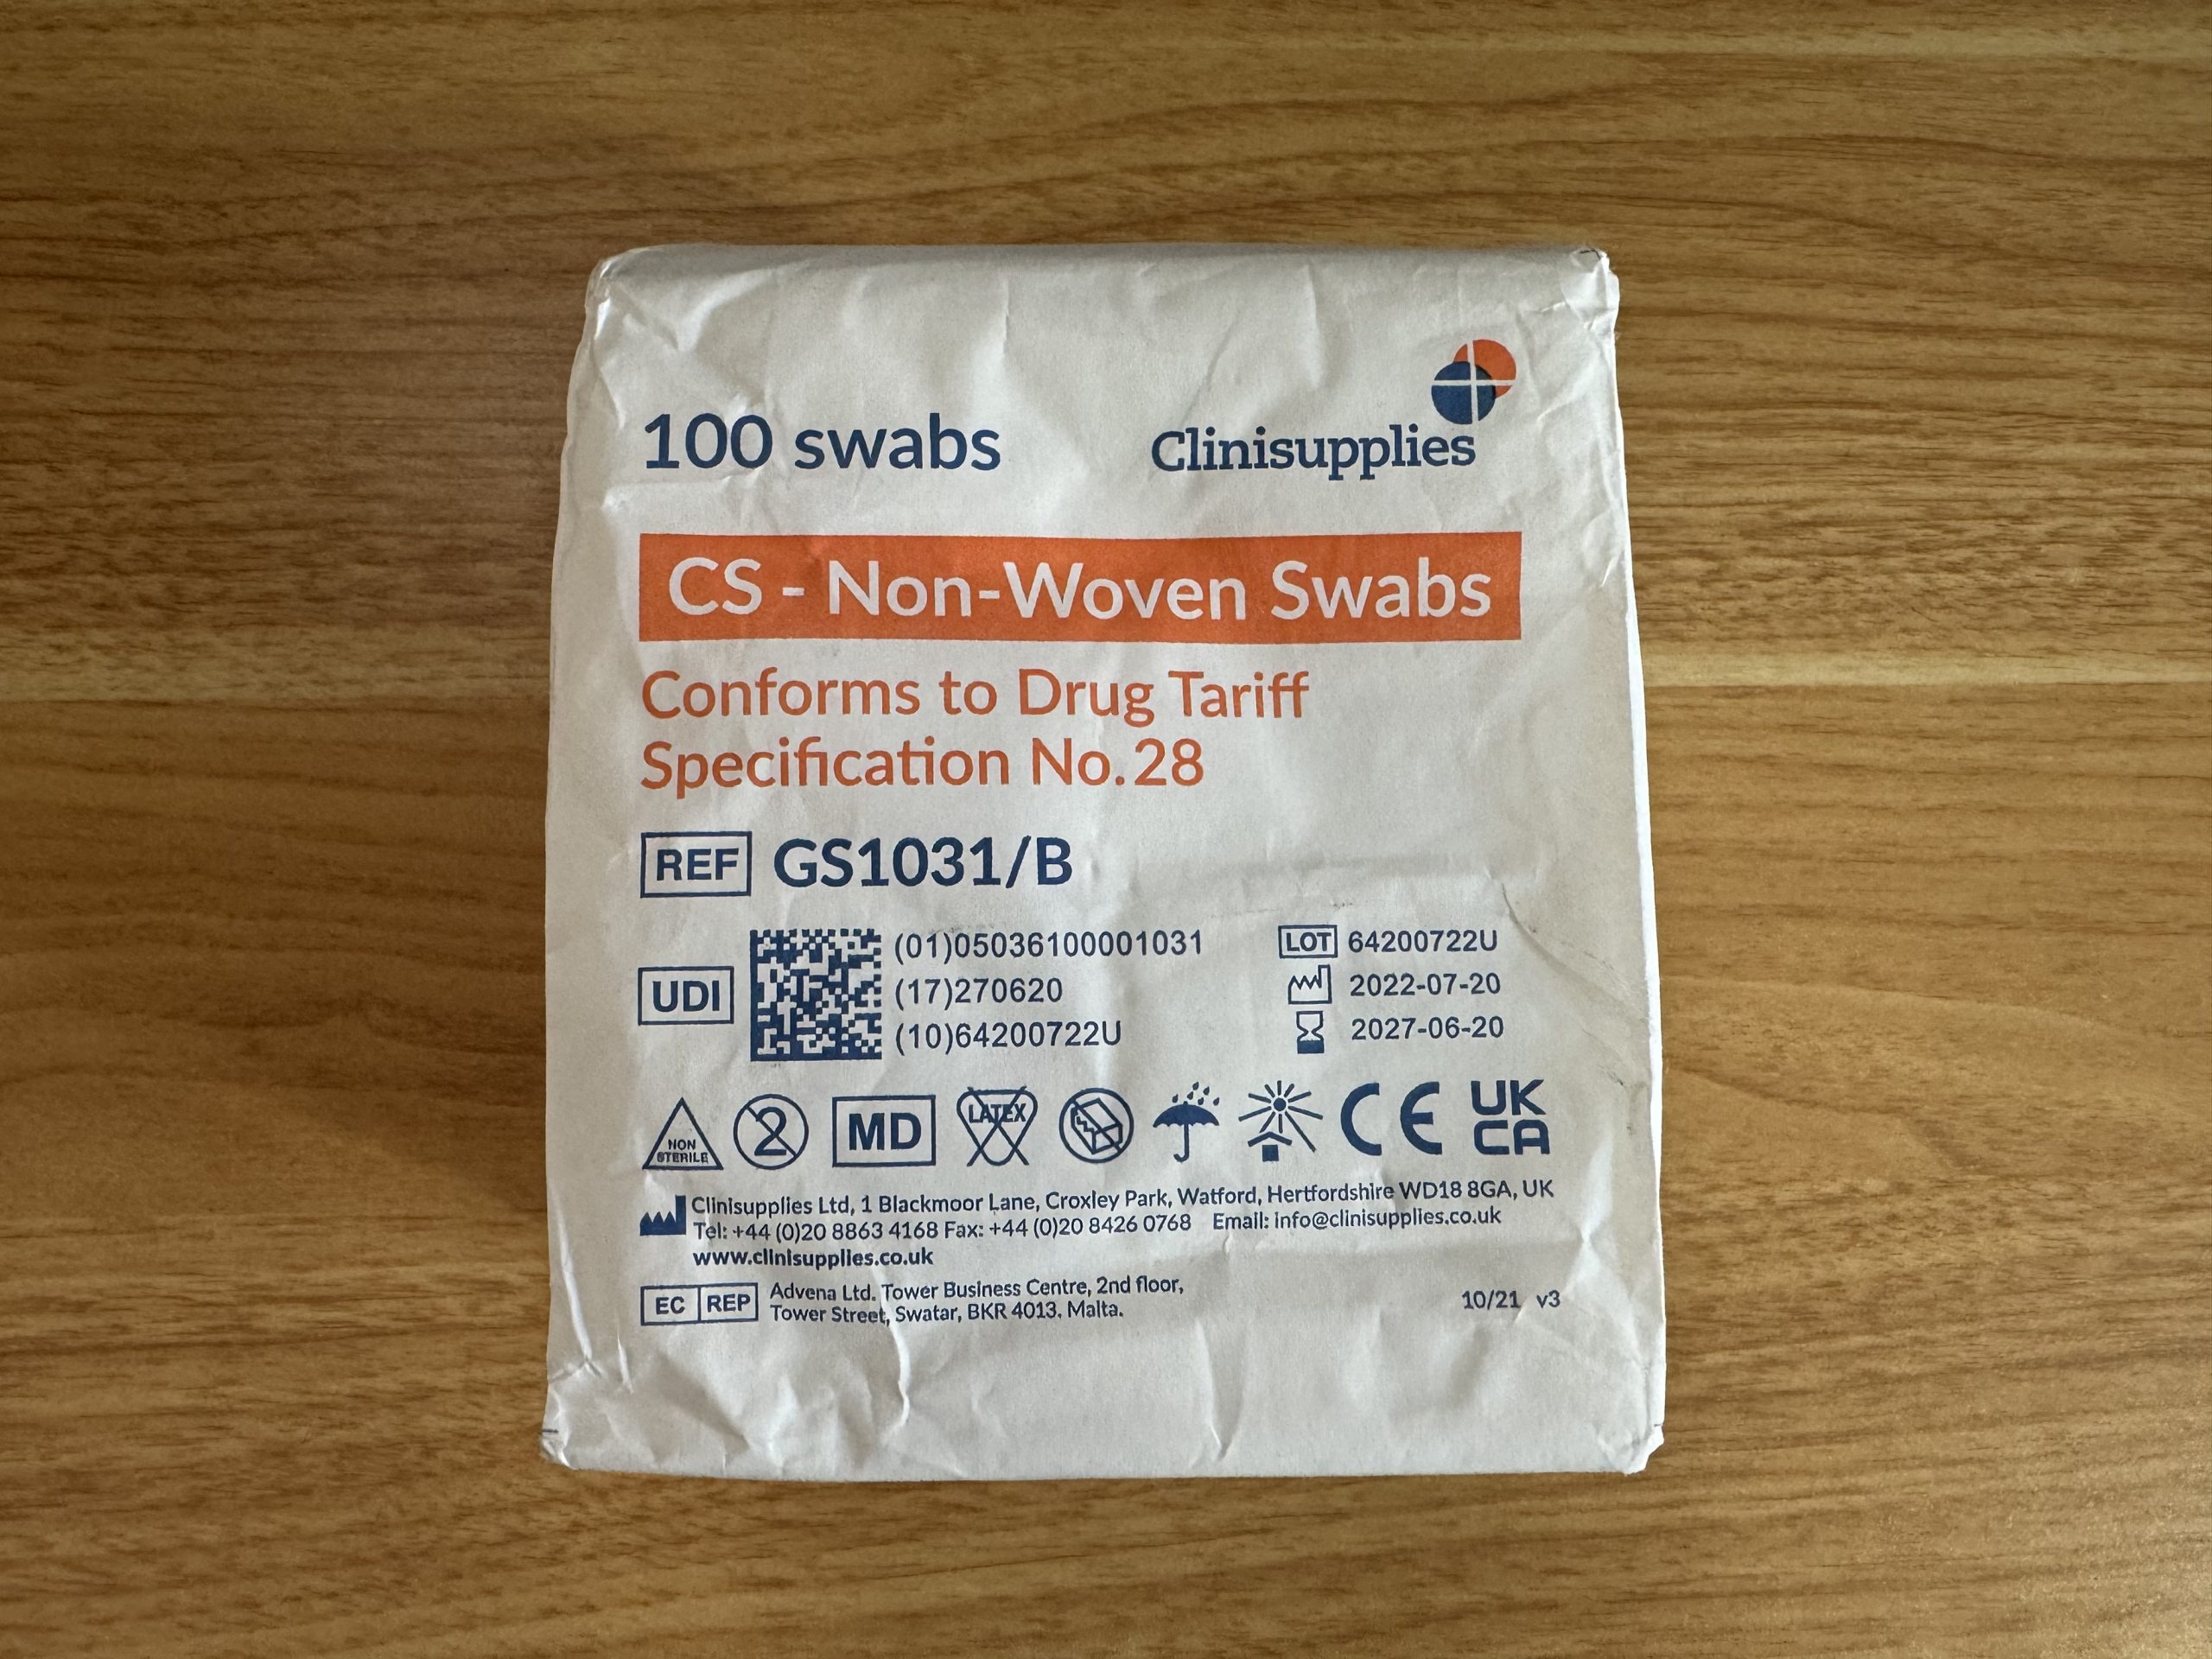
Once you have showered and digitated the wound, it is then important to pat the wound dry with a non-woven, sterile gauze pad/swab to minimise the risk of any dirt entering the wound post-shower.
Step 3 – Wound Irrigation
The next step is to apply a wound irrigation solution to the wound directly. This can be difficult to do by yourself due to the position of pilonidal sinus wounds, so we recommend asking a family member or partner to help you with this process if possible.
If you can have someone do it for you, lay down on a flat surface (I used my bed) on your stomach so your wound is visible.
Then, directly squeeze – gently – the wound irrigation solution into the wound. It does not need to be loads, just enough to ensure the inside of the wound has been irrigated effectively.
You can then ask your family member/partner to place a sterile gauze pad/swab into the wound directly so it is half in and half out. This will soak up the solution. I would set a timer for 3-5 minutes and leave it to absorb.
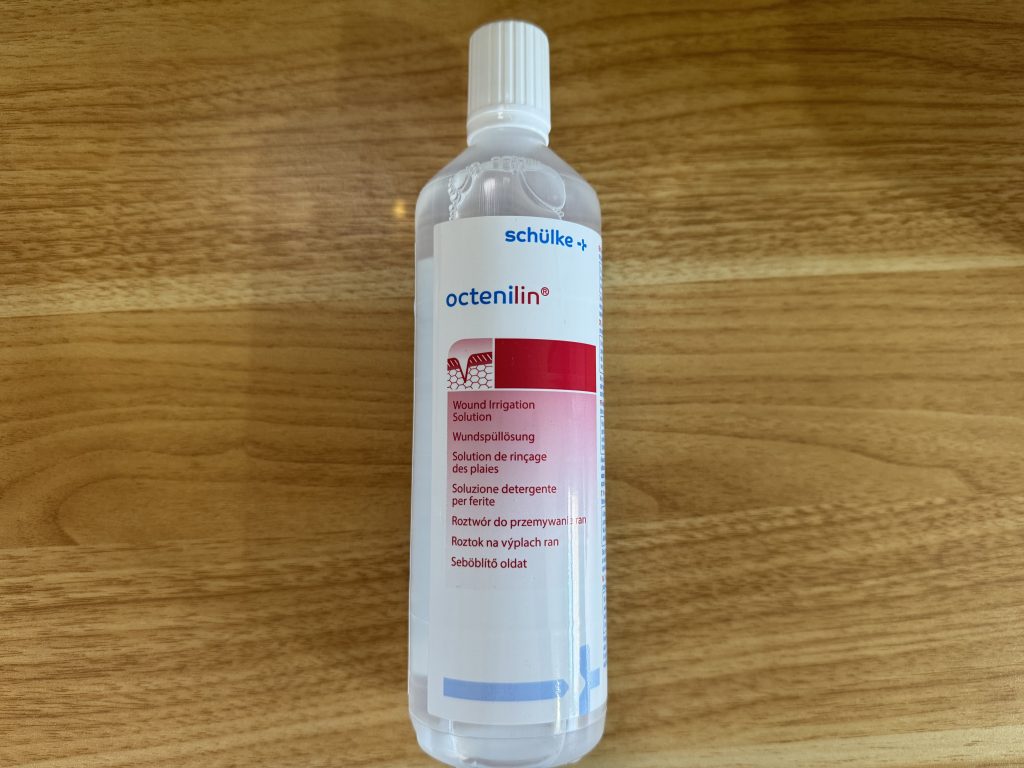
I used the brand Octenlin for my wound irrigation solution, which worked well for me. There are likely alternatives on the market that do the same thing, but I wanted to be transparent with everyone reading about what brands I used.
Step 4 – Wound Dressing Strips + Topical Ointment
Now, depending on the stage of your recovery process, this step will differ slightly.
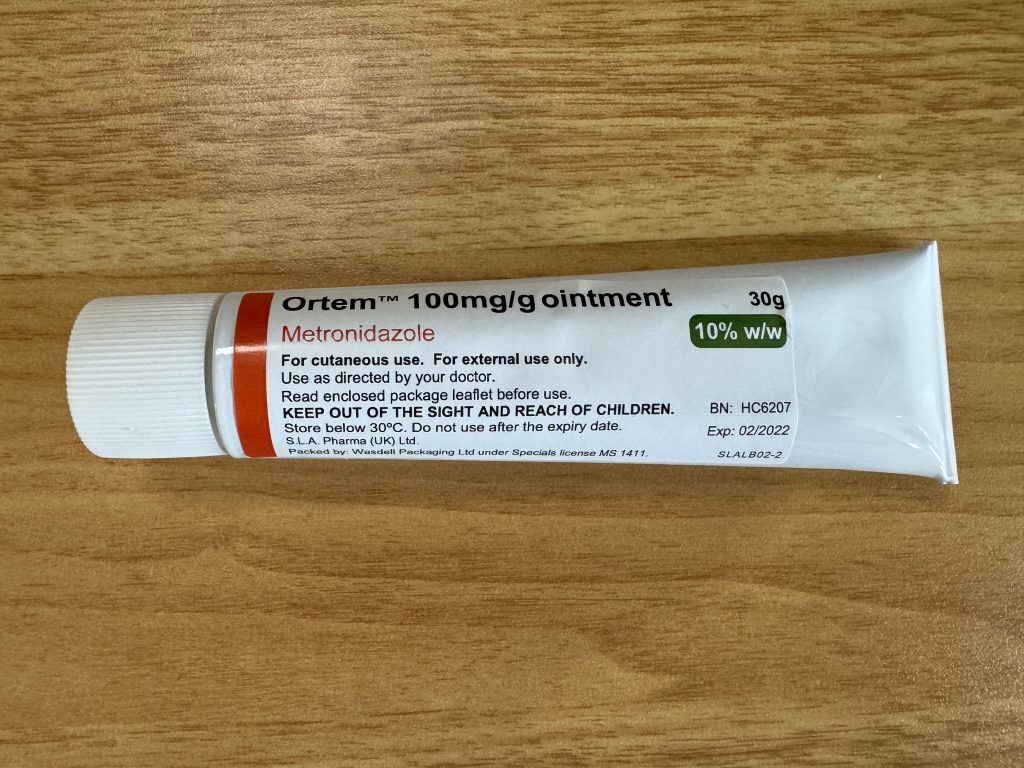
For my fifth (and final) surgery, I used Ortem™ as my topical ointment to help with the recovery process. I have a guide on what Ortem™ and how you can get access to it.
Once you have patted the wound dry again, it is now time to use the combination of Aquacel Extra wound dressing strips with Ortem™.
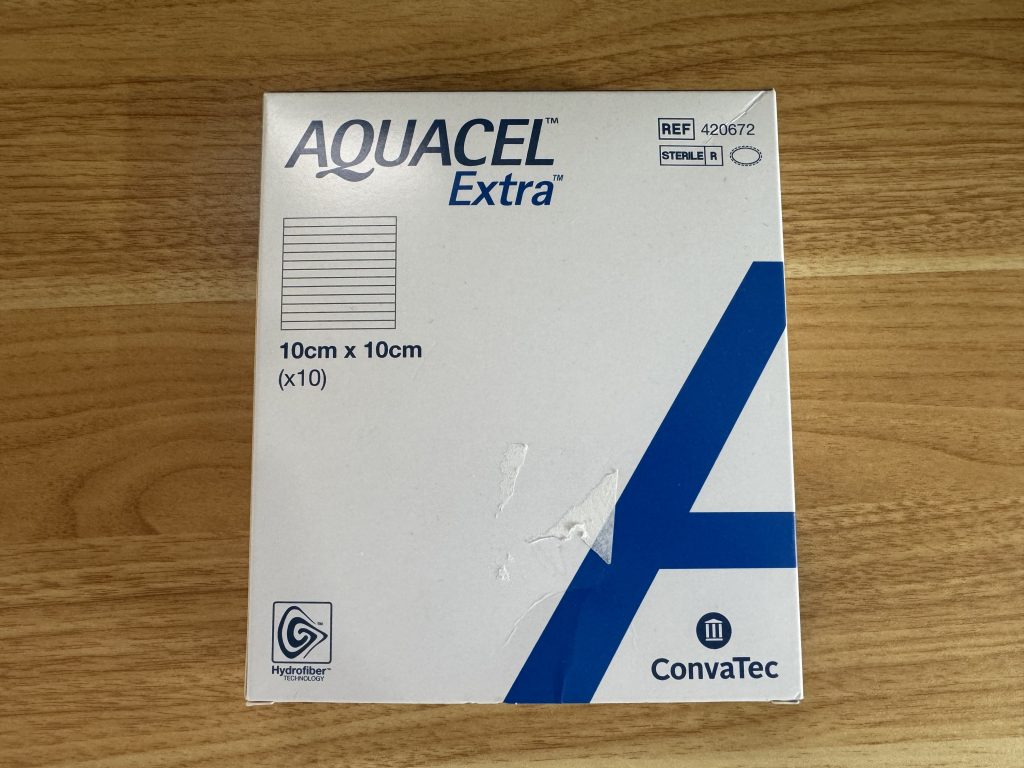
Ask your family/partner to cut out a portion of the Aquacel wound dressing strip to match the size of your pilonidal sinus wound.
Then, using the Ortem™ tube or alternative topical ointment, squeeze a line of the ointment onto the strip of Aquacel.
You then want them to, carefully, place the strip inside your pilonidal sinus wound.
Step 5 – Wound Dressing Application
The final step is to apply an absorbent wound dressing over your pilonidal sinus wound. This absolutely needs someone to help to ensure the wound is covered correctly.
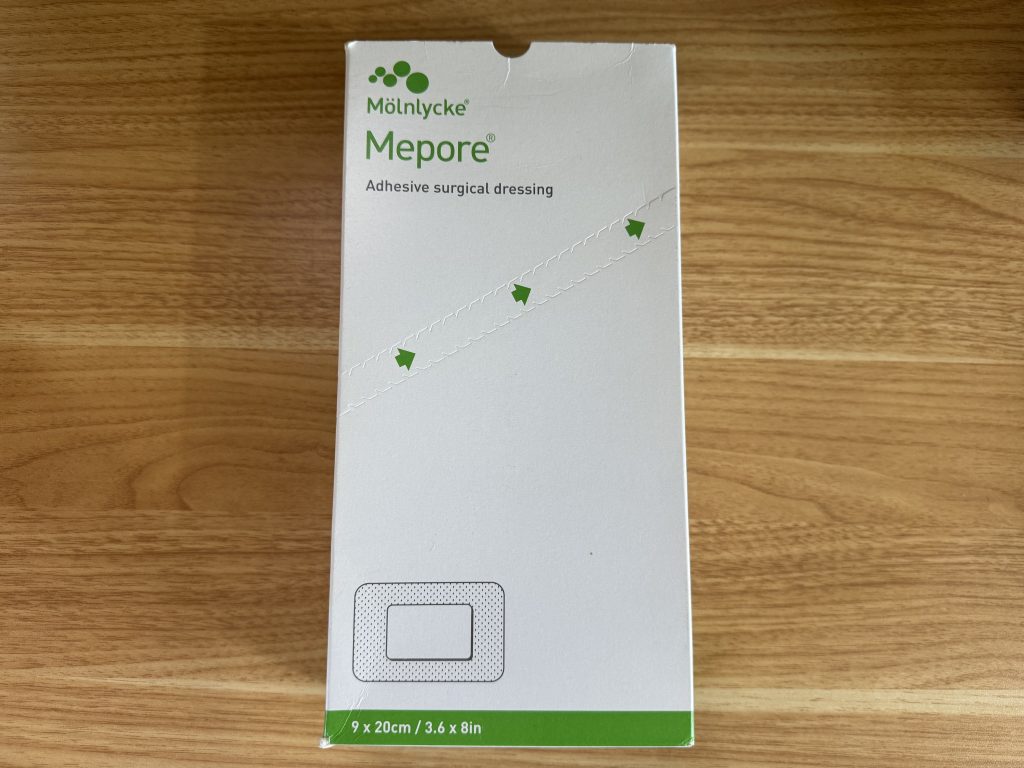
I used a variety of wound dressing brands throughout my recovery processes, and I found that Mepore self-adhesive absorbent dressings were the best for my skin and comfort. Again, your body may find alternatives a more comfortable solution, so use what is best for you.
If the dressing is not sticking over the wound correctly, you can use medical tape to keep the dressing in place.
Tip: I often found that, due to the site of my pilonidal sinus wound, the absorbent dressing would fall off. The trick I found to prevent this from happening was to cut a small slit into the bottom of the wound dressing and stick the dressing strands to the left and right with medical tape.
I hope this helps you with the cleaning process for your pilonidal sinus wound during recovery.